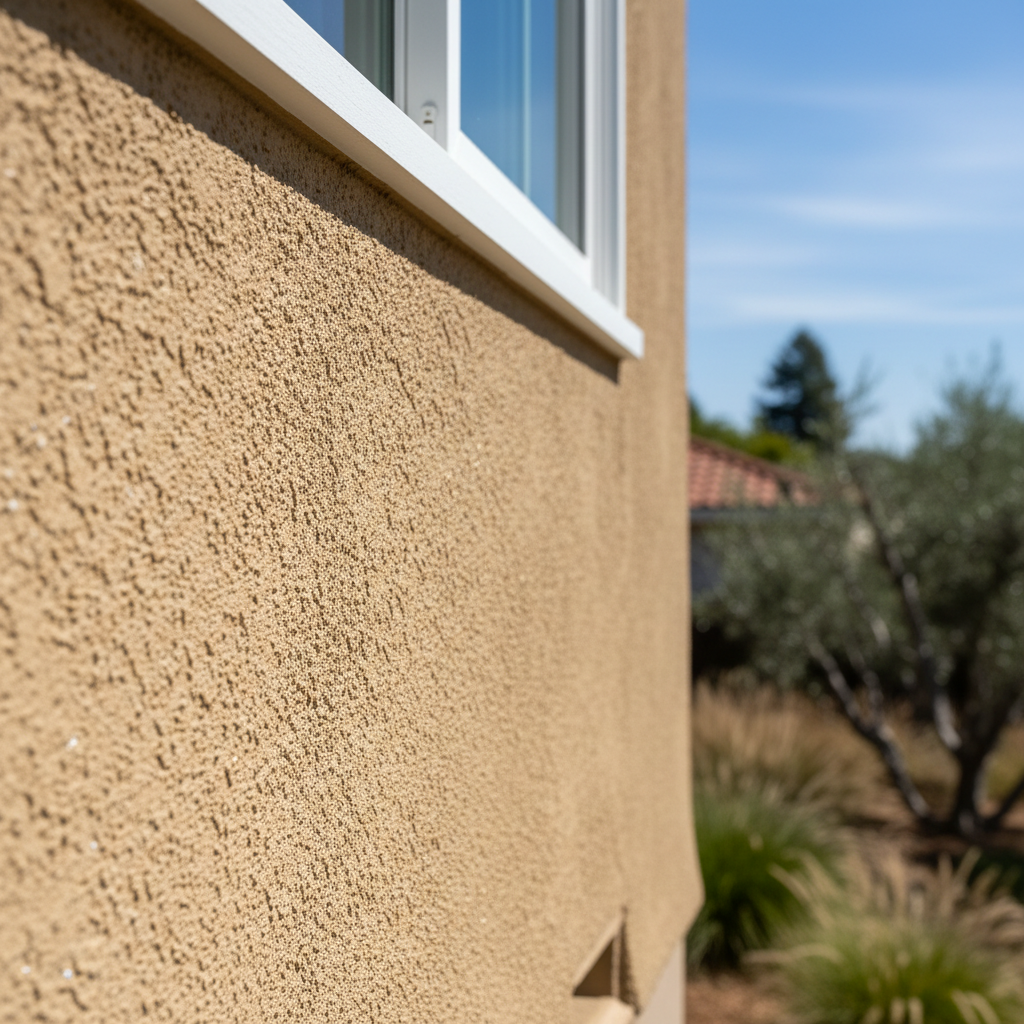
So, you're thinking about new stucco for your place here in Atherton. Maybe you're building a new home, adding an extension, or just want to give your current house a fresh, durable exterior. It's a smart choice, honestly; stucco looks great and holds up really well, especially with our mild climate. But let's be clear: this isn't a weekend DIY project for most folks. There are some things you absolutely can do yourself to prepare and maintain, sure, but the actual installation? That's usually best left to the pros.
Before You Start: Planning & Prep
First off, you need a plan. What kind of stucco are you even looking for? Traditional three-coat? One-coat? Synthetic (EIFS, which is a whole different ballgame we've talked about before)? Each type has its own characteristics, costs, and installation methods. For most traditional stucco here in Atherton, we're talking about a multi-layer system that's incredibly robust.
Here's what you, as a homeowner, can realistically do before any stucco even touches your walls:
- Research & Design: Look at different finishes and colors. Drive around West Atherton or Menlo Park and see what catches your eye. Get samples. This is your aesthetic choice, after all, and it's a big one.
- Budgeting: Get a clear idea of what you're willing to spend. Stucco isn't cheap, and quality work costs what it costs. Don't skimp here; you'll definitely pay for it later.
- Permits: This is crucial. Any exterior alteration of this scale will require permits from the Town of Atherton. You or your general contractor will need to handle this. Don't skip it; the fines are no joke.
- Site Preparation: You can clear the area around your home. Move outdoor furniture, trim back bushes and trees, and make sure there's clear access for workers and materials. If you've got existing siding, sometimes homeowners will tackle the demo themselves to save a few bucks, but be careful. You need to know what you're getting into, especially with older homes that might have lead paint or asbestos.
- Material Selection (with guidance): While a pro will source the main materials, you can definitely have input on things like sand texture or color pigments.
What you probably shouldn't do yourself at this stage? Trying to calculate exact material quantities or designing the lath attachment schedule. That's technical stuff that impacts the integrity of the system.
During Installation: What to Expect & How to Help
Once the project starts, things move pretty quickly. You'll see lath going up, then the scratch coat, brown coat, and finally the finish coat. It's a messy process, no doubt about it. Dust, sand, and water are all part of the game.
Your role during this phase is mostly supervisory and communicative:
- Be Available: Your contractor will have questions. Be there to answer them.
- Keep the Site Clear: Continue to ensure there's clear access. If you're parking cars, make sure they're out of the way.
- Observe (but don't interfere): Watch the progress. Ask questions if you don't understand something, but let the crew do their work. Don't try to